


This tutorial aims to show how an illustration made up of various elements is created and prepared for print in a magazine. The work was created in Photoshop http://www.itbusiness.ca/it/client/en/home/News.asp?id=57149″target=”blank CS3 but it could be done in any version of the program from CS1 upward.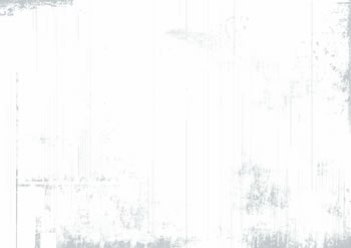
Step 1To begin, open a new document in Photoshop and go for a horizontal A4 page at 300dpi. This resolution is used for high-quality magazine printing and will keep the illustration crisp and clear. Start an image in RGB and convert it to CMYK later, as CMYK in Photoshop can sometimes cause strange distortions when tweaking colours.
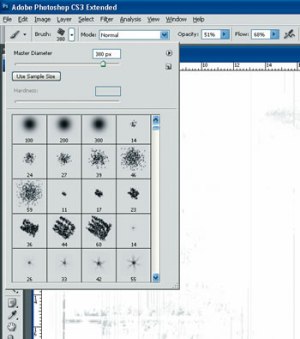
Step 2Next, break up the white space, using the Brush tool in the Brushes toolbar. Choose a textured brush with a 50 per cent Opacity/50 per cent Flow in a mid-grey colour. Work the grey into the corners of the canvas and use the Line tool to create vertical lines building up a rough textured background, working over the grey with white again to get an even background that won’t draw the eye away from the rest of the picture.
Related stories
How to create fireballs and explosions in Photoshop</
How to create amazing surreal images in Photoshop
How to create an eye-popping Twitter page in Photoshop
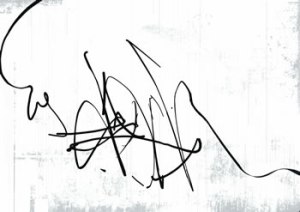
Step 3Create a new layer with Layer > New > Layer and using the Brush tool again set to 100 per cent Opacity/100 per cent Flow, draw an erratic black scribble across the page from left to right.
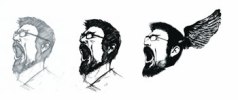
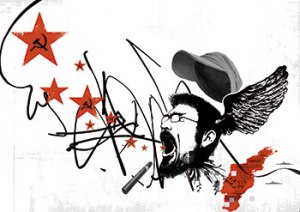
Step 4Scan the character art in at 300dpi (It’s much easier to scale high- quality art down than scale low-quality art up) and desaturate in Image > Adjustments > Desaturate and then Image > Adjustments > Brightness/Contrast adjusting the contrast until the image is black and white. The image is desaturated so that when you increase the brightness/contrast values you are presented with a pure black and white image.
Step 5With the Brush tool set to 100 per cent Opacity/100 per cent Flow, use it to neaten up the edges and fill in the rougher areas of black. Draw into the image further to define the hair in the beard and eyebrows. For this sort of accurate painting a Wacom graphics tablet is essential for complete control of the brushstrokes. This could have been done in Illustrator as it’s only a black and white image, but I find Photoshop’s Brush tool more organic and intuitive than Illustrator’s pen tool.
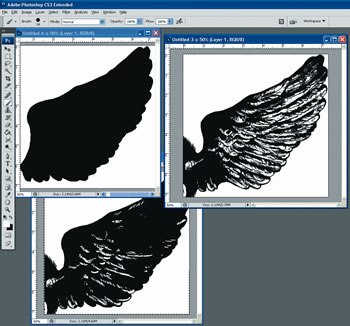
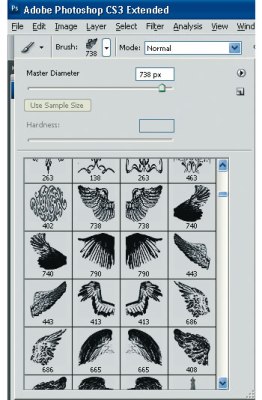
Step 6Paint the wing in a separate window, starting with a black wing shape drawn with the Brush tool set to 100 per cent Opacity/100 per cent Flow and then draw the feathers in with the brush tool in white. When finished, Copy > Paste into the character art document and merge into the character art layer with Layer > Merge Layers.
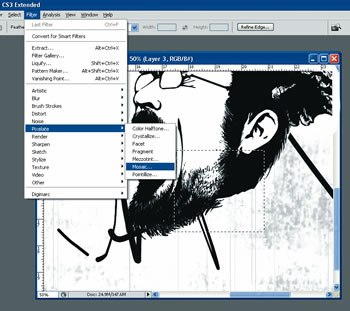

Step 7Cut out the character art with the Lasso tool and Copy > Paste it into the original document onto a separate layer. Select the bottom of the art and Copy > Paste it onto a new layer, using Filter > Pixelate > Mosaic to break it into squares. Set the layer to Multiply so it sits on top of the original character art. On a new layer add further squares using the Rectangle tool and spread out to create the dissolving effect.
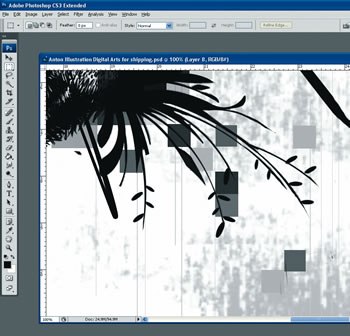
Step 8Finally, add the floral flair to the bottom of the character art on a separate layer. Paint it freehand with the Brush tool set to 100 per cent Opacity/100 per cent Flow and use the Circle Selection tool to get crisp edges on the curves. Use the Circle Selection tool like masking tape: make the selection in a curve and use the brush tool to create a neat curved line inside the selection.
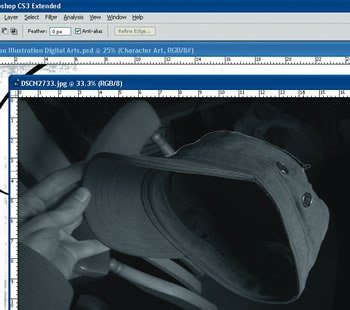
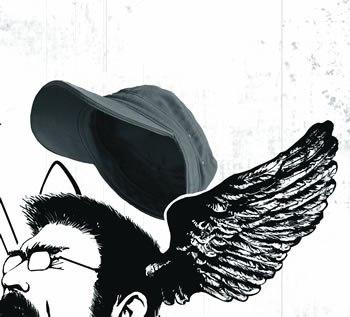
Step 9In this illustration, photographs were used for some of the elements. Open the photograph you wish to use in Photoshop and using the Lasso tool, isolate the desired areas. Once selected, Copy > Paste into the main image and repeat with any other areas. In the photograph used here, the back of the hat was cut away with a slight ‘halo’ so as to make it appear under the wing and behind the head using the Eraser tool.
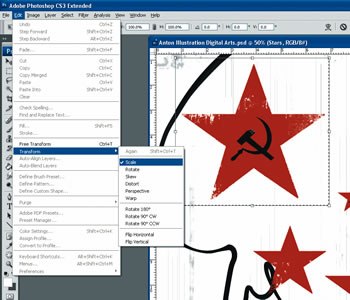
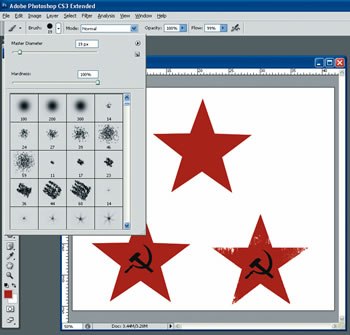
Step 10Next, add colour to the image. Create the stars simply using the Polygon tool and setting the Geometry Options to Star. Draw the Soviet hammer and sickle on the star with the Brush tool and add a rough edge to the star with a textured Eraser brush. Copy > Paste the finished star to create multiple stars; resize each star using Edit > Transform > Scale and then use the Move tool to position them so they appear to be coming out of the character’s mouth. Finally Layers > Merge Layers to get all the stars onto one layer.
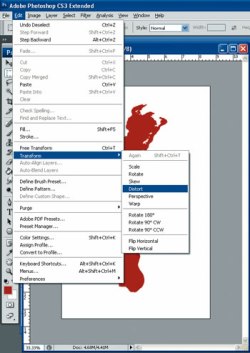
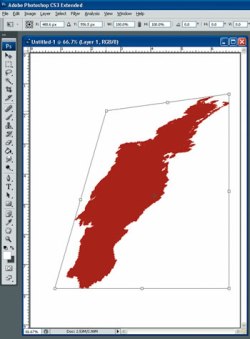
Step 11Draw Cuba flat, using a Brush tool on a new layer and distort it using Edit > Transform > Distort. This tool allows you to manipulate a 2D layer almost as if it was in a 3D space. Drag any one of the eight points to change the shape; in this case the top two are pulled in and dragged across to make the top of the drawing appear to move into the background.

Step 12The texture on top of the drawing of Cuba is part of a stock photo of a Cuban bank note. Blow it up using Image > Image Size and then Copy > Paste into the main image. Use the Eraser tool to crop the overlay to the shape of the drawing of Cuba. Finally set the layer to Multiply in the layer menu and reduce the layer opacity/fill to 74 per cent/89 per cent. This gives a slightly translucent overlay texture to the island image.

Step 13The tiny ships were drawn using the Line tool, Brush tool and Eraser tool on a new layer. As they were going to be so small I only drew one and Copy > Paste the other one. They were selected and resized using Edit > Transform > Scale to fit better next to the drawing of Cuba.

Step 14The Image is flattened to one layer and converted to CMYK for print; colour conversion can wash out or distort the RBG colours so the image is run through the Image > Adjustments > Brightness/Contrast to bring back the rich, orangey values of the original RGB red.
Source:DigitalArts
