


There’s a resurgence in the popularity of all things vintage at the moment – from retro patterns to kids’ sweeties – and motion graphics is no exception. A series of recent bumpers created by the likes of Studio AKA have used simple 2D cut-out shapes and characters to create lively scenes and stories. Although many of these have been created using 3D software, there’s a surprising amount you can do in After Effects with little or no knowledge of 3D at all.
In this tutorial we’re going to create a 3D animation of a storybook opening to reveal a pop-up scene of mountains, a road, bushes, moving clouds and a sun. Along the way you’ll learn how to create 3D primitive objects and nest them in your composition.

Related stories:
Cool ways Augmented Reality can make print come alive
Avatar’s success doesn’t mean big screen 3D is here to stay
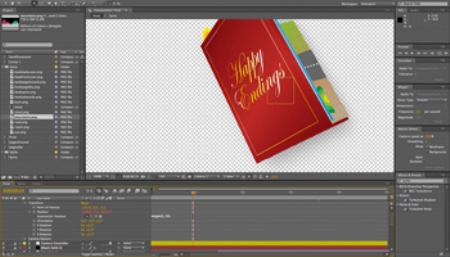
We’ve chosen a slightly retro look – the graphics we used are on the disc and in the zip file over in the sidebar, but feel free to replace them with your own; our completed shot will be a clean, colourful and dynamic scene with plenty of character.

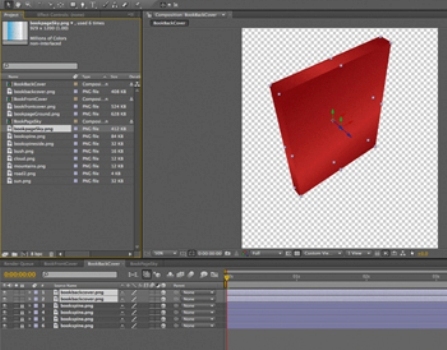
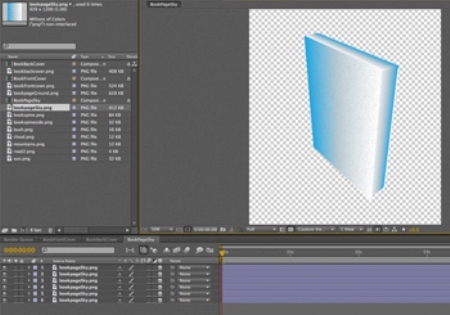
Step 1Create a new After Effects project and import all the image assets from the zip file linked in the sidebar by choosing File > Import > File. Once you’ve got all the files in your project, drag the bookFrontCover.png asset onto the Create New Composition button at the bottom of the project panel.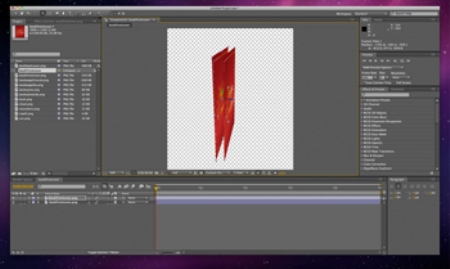
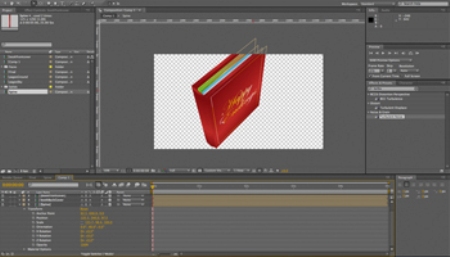
Step 2We’re going to be creating one side of the book’s outer cover in 3D. First, make your existing layer 3D by clicking on the 3D button in the Layers panel. Next, duplicate the layer by highlighting it and choosing Ctrl/Cmd + D. Move your mouse over the Z axis of the new layer and push it back so you have two parallel faces in 3D space.
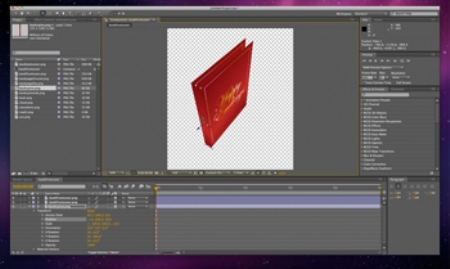
Step 3Choose the Custom View 1 option from the camera drop-down and use the 3D Rotate tool to move around your book cover. Adjust the Z position of the second layer until you have something that looks the right thickness. Drag a copy of the bookSpineSide.png graphic into the project and make this 3D. Adjust the y rotation to 90º so this layer meets the existing layers at a right angle. Alter the size, X, Y & Z positions to line it all up.
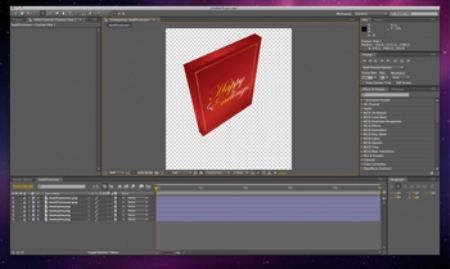
Step 4Repeat this process for the other side, then the top and bottom of the cover. The end result should be a 3D box you can rotate around without seeing inside. This can be a frustrating process, so make use of the top, left, right and bottom views to make sure everything lines up perfectly before moving on. You will need to resize the bookSpineSide graphics – especially for the top and bottom.
Step 5Highlight the current composition in the project panel, press return and rename the composition bookCoverFront. You can create a duplicate for the back of the book, or just use the bookCoverFront comp twice – the pages will hide the text on the cover in our shot.
Step 6Repeat steps 2-5 to create a 3D box for the bookPageSky and bookPageGround graphics, so you end up with three compositions: the cover, and two page compositions. On the page compositions you’ll need to use the same graphic squeezed down for the sides and top and bottom.
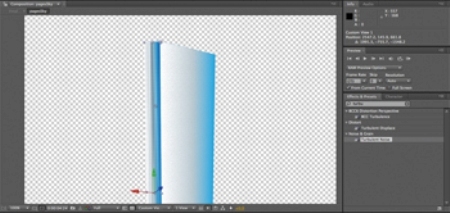
Step 7Apply the Turbulent Noise effect to one side of the bookPageSky composition. Choose the swirly preset from the list of presets at the top of the Effects panel, then set the blending mode to overlay. Copy this effect onto the other three side faces, and repeat for the bookPageGround composition.
Building the spine
Step 8We need to create a spine for the book. This is done in much the same way as before, but we’re going to create a Toblerone-style shape to make it appear a little rounded. Start as before, but arrange your layers at angles to accommodate a fifth face. Cover the ends with the same texture, and use the masking pen to cut a shape to fit perfectly.
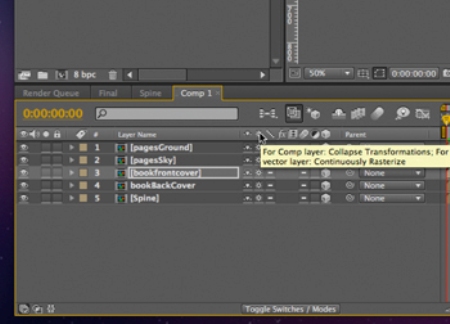
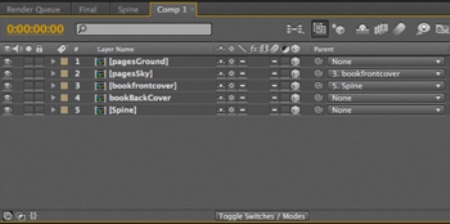
Step 9Create a new composition in the final size and frame rate you want your scene to use. We’ve gone for 720p at 25fps here – five seconds long. Now drag your different compositions onto the timeline to bring them in. For each, check the 3D switch and Collapse Transformations switch. This allows After Effects to treat them as if all the layers inside the compositions were in your main composition, but without the mess of hundreds of layers.
Step 10We need to arrange our different elements so that they sit in the right place relative to one other. Using the top, front, left, right and custom views arrange the different elements together so that the bookPageGround object sits directly on top of the bookCoverBack object. Do the same for the front cover and the bookPageSky element, and cap it off with the spine. This can be fiddly too, and you’ll need to rotate objects and alter the spine orientation to get it to work.
Step 11Once you’ve got everything aligned, parent the bookPageSky to the bookCoverFront layer. Next parent the bookCoverFront Layer to the bookSpine layer. Select the bookSpine layer and use the Pan Behind tool to move the anchor point from the centre of the layer to the edge where it meets the bookCoverBack layer. This will be the point of rotation, so it’s important to get it in the right place.
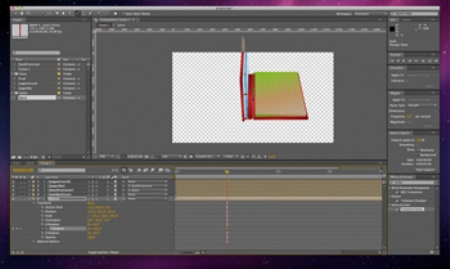
Step 12Create a keyframe for rotation on the bookSpine layer as shown above then move 1 second down the timeline. Rotate the layer by 90º so the bookSpine layer (and the bookFront and bookPageSky layers) sit at right angles to the back cover and bookPageGround layers. You’ll notice the pages don’t meet, but we’ll hide this with a nice camera move.
Making 3D mountains
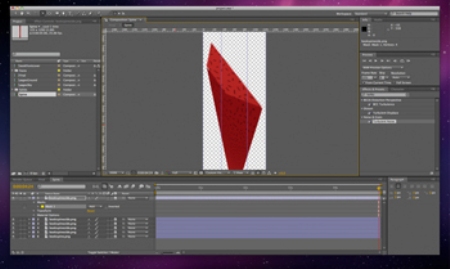
Step 13Drag the mountains.png layer into your composition and make it 3D. At one second down the timeline, arrange your layer so that it sits lying down on the bookPagesGround object. Use the Pan Behind tool to move the anchor point for the mountains to the flat edge at the bottom of the layer. Keyframe the rotation property then move a further one second down the timeline. Rotate the layer so that it sits at right angles to the page.

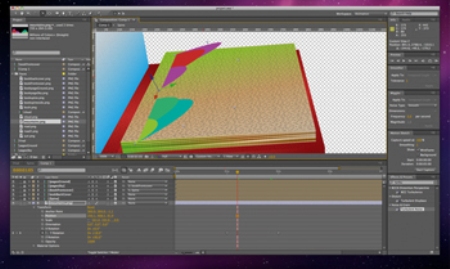
Step 14Test your animation by scrubbing along the timeline. The book should open and the mountains fold up out of the page to be sitting proud. Repeat the pop-up process for the other elements as desired, adding in a road, bushes and sun or clouds. The clouds and sun can pop up from beneath the book so they don’t stick out before the book opens.
Step 15Add a new camera to your composition – we went for a standard 35mm. Add a null object and make it a 3D object. Parent the camera to the null object and then keyframe the null object moving around the scene to create nice angles. Alt/Opt+Click on the camera’s position stopwatch and type wiggle(2, 20) into the expression area to add a little automatic camera shake.

Step 16Add a background of pure white by creating new solid layers and positioning them in 3D space to create three sides of a cube inside which your scene sits. Add additional flourishes to suit – we added a bit of sparkle using Trapcode Particular when the pages open, and a fake shadow under the book using a black solid layer, masked with a large amount of feathering to the mask.
Source: DigitalArts
