


How do you change the look of a laptop? I mean really change its look–just shifting around the wallpaper, screensaver, or Windows color theme doesn’t count.
This is a bigger task than you might expect, especially if you’ve tried modding a desktop PC. Shiny new cases, LED fans, all sorts of spray paint and side panels–those guys have it easy.
Laptops aren’t quite so moddable, since you basically have only one case to work with. But whether you just want a quick makeover or are willing to throw caution to the wind, we have some quick tips and ideas to make it prettier, uglier, or just plain more noticeable than your average portable PC.
But tread carefully. Electronics and water don’t mix; electronics and clay, paint, or adhesive really don’t mix, and it’s not as if you can just replace your laptop’s motherboard and go about your business. Proceed with caution, and do your best.
Gelaskins: Stickers For Your Laptop
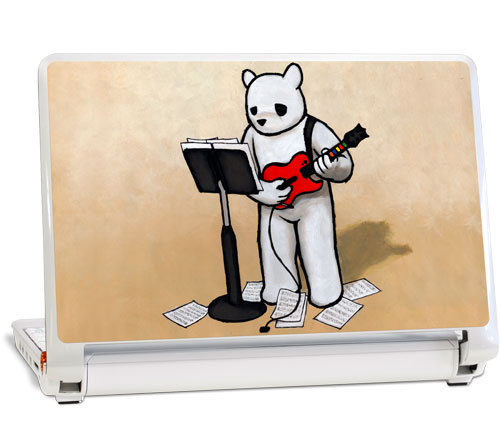
Gelaskins let you modify your laptop’s looks without getting your hands dirty.
If the thought of taking a screwdriver and some paint to your laptop makes you squeamish, don’t worry–you can still liven up the feel of your notebook without almost destroying it in the process. Try checking out Gelaskins, both a Website and a product that comes as a single huge sticker that you can apply to the external (and sometimes internal) sections of your laptop.
If you’re turned off by the prices or patterns, don’t fret: Plenty of online companies sell similar products of different varieties, including decalgirl.com, zagg.com, and skinit.com, to name a few.
Gelaskin in the wild. (Picture by Craig Cmehil.)
Find a product that meets your notebook’s dimensions and order up your favorite design. Once your skin arrives in the mail, unpeel it and carefully apply it as straight as you can to the correct part of your laptop.
You can use a credit card to smooth out any excess air bubbles, but try to apply the skin in such a way as to avoid that step entirely.
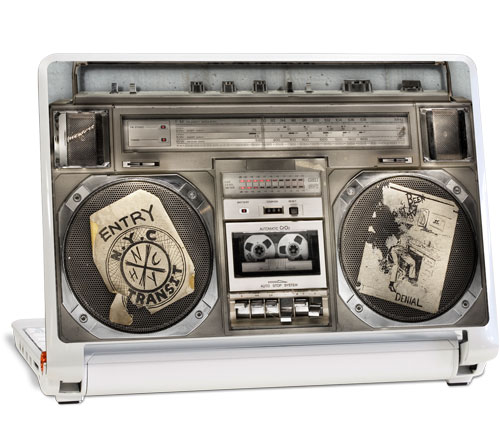
One laptop’s boom-box skin–clearly applied with care.
You get only one shot to make your applied-skin mod perfect, so feel free to take all the time in the world to line up the skin so it’s exactly how you want it to be.
While you can remove your skin if you muck things up, you run the risk of having a bit of adhesive (or a bit of sticker, if you accidentally rip it) remaining on your laptop’s exterior.
If stickers aren’t your thing, you can also pick up a large plastic shell that fits around the top and bottom halves of your device and, with luck, changes the look and color of the laptop entirely. It’s tough to locate such shells for PCs, but Apple fans can find solace in the unique polycarbonate designs of a company called Speck.
Paint Your Laptop Like a Pro
On the other hand, if you want something more hands-on, try doing your own customized laptop paint job. However, you’re going to need to disassemble your laptop so that you’re left with just the parts of the system you want to paint–no electronics attached.
This is harder for some systems than others; if you’re lucky, you’ll be able to find a repair guide or series of maintenance steps on your manufacturer’s Website that will allow you to deconstruct every bit of your laptop without too much of a headache.
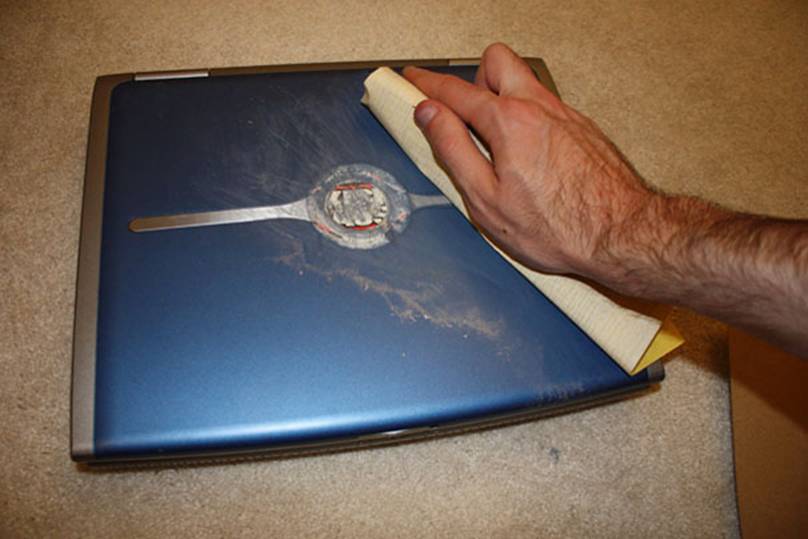
Sanding your laptop case.
If you just start unscrewing bits and pieces left and right, at least keep a running record of exactly in what order you unscrewed which parts (and the place of each of those screws) to help ensure a disaster-free rebuilding later. Also, if you have a digital camera handy, take pictures–it helps.
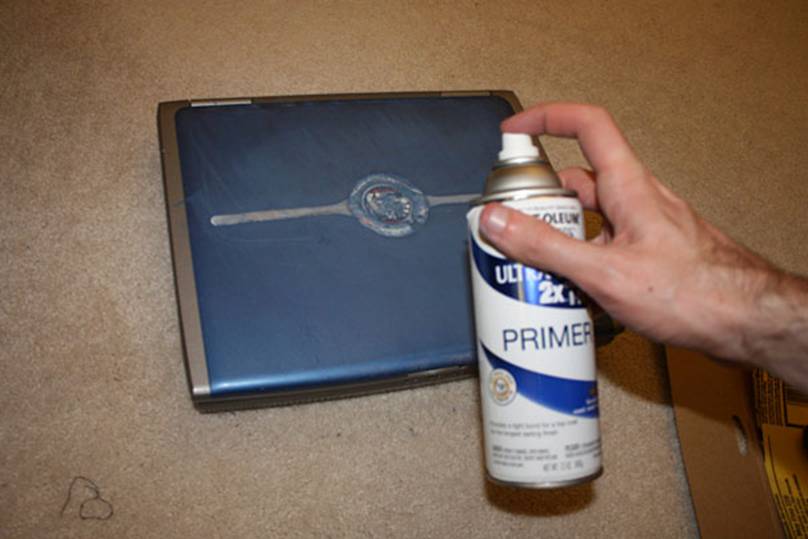
Putting on a coat of primer.
Once you’re left with just the shell, give it a thorough sanding to prep the surface for priming. Don’t bust out the belt sander–a gentle rubbing with 400-grit sandpaper should do the trick, although you can go all the way down to 220-grit if you need a bit of extra oomph.
You’re aiming to create a rough surface for the primer to adhere to, but it’s up to your judgment (based on the finish of your laptop’s cover) as to when you’re ready to proceed to the next step.
Be sure to tape off any areas you don’t want to paint over (like, say, the ports, or your Windows product key sticker) with painter’s tape before you begin. Then grab your best can of plastic primer and gently apply a coat to the sanded parts of your laptop cover.
Let the case dry before you inspect your handiwork to see if you covered all possible areas. Repeat this process three to six times, depending on your skill level and primer coverage; then let the laptop case dry out for a day or so.
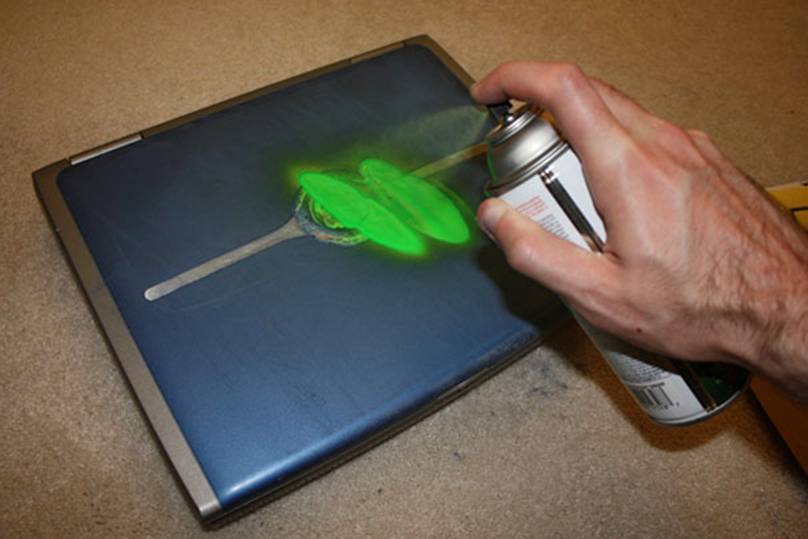
Applying the first coat of paint.
Now you’re ready to begin applying the actual spray paint (typically an automotive spray paint). Make sure that you’re delivering only a very light, even spray per coat.
You’ll achieve better results through a steady application of multiple coats versus a one-shot, blast-all-the-paint-I-can approach.
Once that’s done (and is dry), apply a final series of one to three coatings of gloss finish. You can even grab some super-fine 1600-grit sandpaper to really smooth out your laptop’s new finish, if you so desire.
Stencil Your Laptop With Souffle Pens

Souffle pens let you paint your laptop case without taking it apart.
What the heck is a Souffle pen? It’s a brand of puffy-paint ink pen made by a company called Sakura of America, and you should be able to find them at your favorite craft store.
Stock up, because these pens are an excellent way to modify the external look of your laptop without going through the rigors of disassembling it.
Other gel-style pens might work as well, depending on how glossy your laptop’s texture is. Feel free to test these out on a tiny area of your laptop’s cover before you tackle the full design how-to detailed below–most dry ink will come off with a gentle fingernail scrubbing or a damp cloth.
Start by purchasing a bunch of these pens in whatever color you feel like painting up. Don’t plan on completely transforming your laptop’s color, though–these pens are more for creating artistic textures and designs on the external casing than for transforming the entire laptop into a new shade or color.
If you’re not much of an artist, you don’t actually have to freehand a design on your case. Grab some tracing paper, a graphite pencil, and some kind of rubbing instrument and presketch your designs in a safer environment.
When you’re ready to transfer your final images to your laptop, you’ll be able to create a picture-perfect copy for following with your puffy-pen work.
Before you begin drawing, however, make sure that you get a gentle flow of ink rolling by rubbing the pen on a piece of scrap paper. And remember–the slower you go, the more the ink collects, which delivers a stronger color instead of a speedy streak.
Add Fur and Fabric to Your Laptop Case
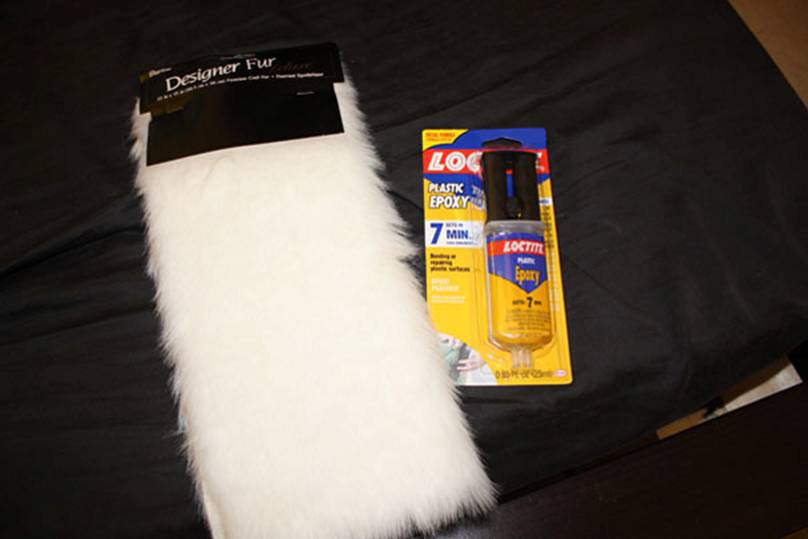
Time to add fur to your laptop.
It’s time to take your adventures in basic modding to the next level: textures. Head on over to a local fabric store and pick up a chunk of fur that has around 4 inches of extra fabric on each side compared with the overall size of your laptop.
While you’re shopping, you’ll also want to grab a hot glue gun if you’re interested in covering the edges of your laptop’s screen as well.
If you just want to slap a rectangular hunk of fabric on the top your portable, spray adhesive will work just fine. And, yes, applying fur to your laptop is a top-and-sides only experience–do this to the bottom of the machine and you’ll ruin your system’s ventilation.
If you just want to have a carpet square’s worth of fur on the top of your case, all you have to do is add some adhesive. Cut the fur to whatever size works best and stick it on top of your laptop. Done and done.
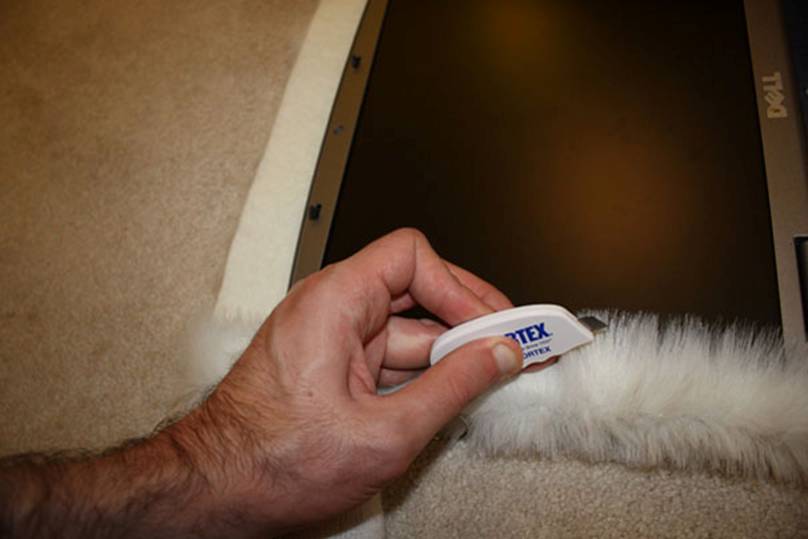
Trimming the fur on your laptop.
If you want your fur to wrap around the edges of your laptop’s screen, you’ll need to create lines of glue–one edge at a time–around the periphery of the screen.
Just to be clear: These lines of glue don’t go on the same face as the screen. If your laptop’s facing you, apply the glue to the perpendicular east, west, and north borders of the laptop, not to the direct back or the direct front.
Also, glue the fur one side at a time. Wait for it to dry a bit before going on to the next side.
As you’re gluing, you’ll want to make sure you’re giving the fur a decent tug to allow it to fit nice and tight atop your laptop’s cover. Once the fur is adhered to your laptop, grab a razor and trim the edges (and any spillover glue) until your furry creation looks as sharp as it does fuzzy.
Play With Clay (on Your Laptop)
Those of you looking for a more hand-crafted look can also create an external cover out of modeling clay. Cover the top of your laptop in plastic wrap, then cover that with a ton of modeling clay that you’ve knuckled, sculpted, and tweaked into whatever aesthetic you’re trying to accomplish.
Next, let the clay harden, take it off of your laptop cover, remove it from the plastic wrap, then paint and drybrush the heck out of it if you really want to add to the beauty of its texture.
Once you’re done playing around with your modified clay cover, remove the top of your laptop (just as if you were painting it), separate the electronic bits from the raw case, and set this aside.
Use an epoxy glue to attach the clay cover to your laptop’s case, and then clamp these two layers together for at least a day’s worth of time to make sure they set correctly.
See why you had to take your laptop apart on this one? That kind of force could do a number on your actual screen.
Once you’re done, reassemble your laptop, and bask in your creation–a fully textured laptop case guaranteed to get eyeballs for its unique aesthetic!
Source: PCworld.com
